

Images guide
How to Compress Images for the Web Without Uploading — Free and Private
A hero image that weighs 4 MB destroys page speed scores and gets rejected by form uploads. Here is how to compress images for the web in your browser — no upload, no account — with KB targets that actually match email and portal caps.
By Pixelandpdf · Published · Updated · 11 min read
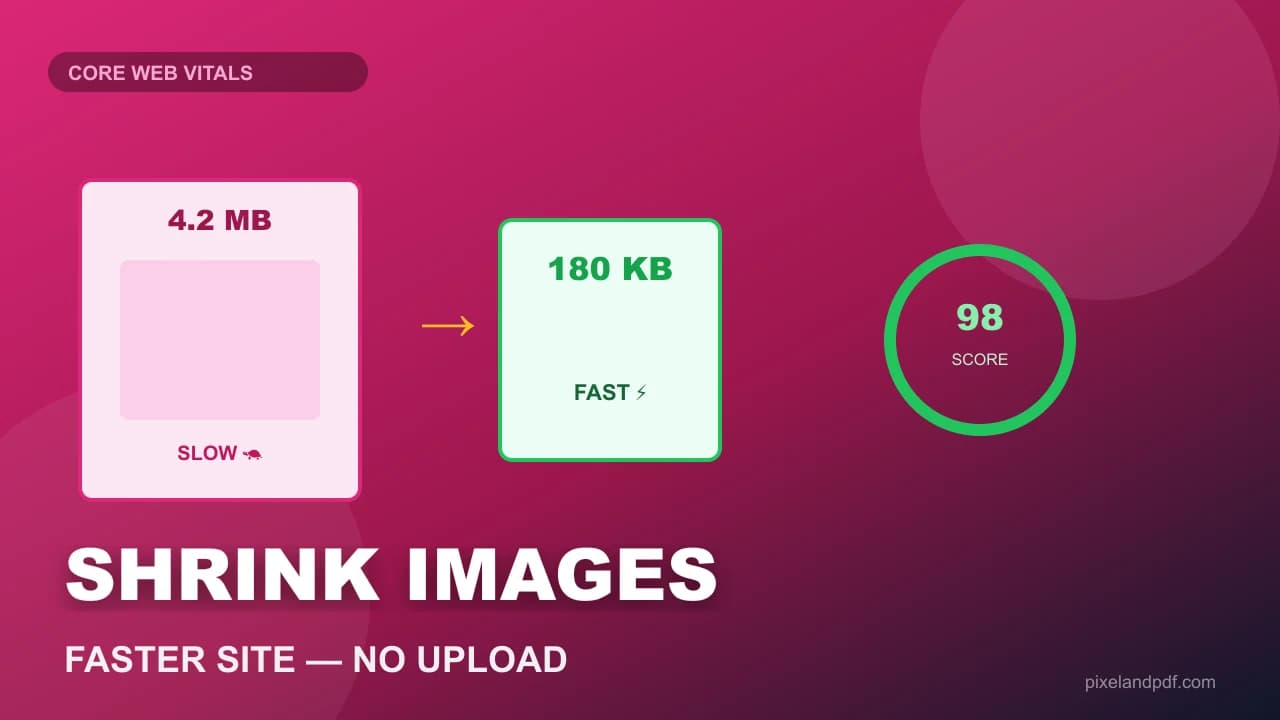
Your CMS accepts the upload, your page goes live, and Lighthouse reports a Largest Contentful Paint driven entirely by a 3.8 MB hero photograph that could have been 180 KB without visible loss. Or a government form rejects your passport photo at 890 KB when the cap is 200 KB. Or a marketing email bounces because the attached product shot exceeds the provider's inline-image limit. All three problems share one fix: compress the image before it reaches the destination.
Search for compress image online and the top results are upload boxes. Drop a file, wait in a queue, download a result — and hope the service did not keep a copy of your ID photo on its servers. For product shots, team headshots, document scans and form photographs, that trade is unnecessary. A browser-based image compressor re-encodes locally: nothing uploaded, EXIF stripped, and you see a before/after preview before you commit.
This guide covers how to compress images for the web without uploading them, when to choose JPG vs WebP vs PNG, how to hit hard KB caps for forms and email, batch workflows for blogs and storefronts, and what to do when compression alone cannot reach the target. Everything runs on your device and costs nothing.
Quick steps
- Identify the destination cap — form upload (100–200 KB), email inline (~200 KB), or web hero (under ~300 KB for LCP).
- Open a browser-based image compressor and drop the file — it stays on your device.
- Pick a preset (Email, Form, Web) or set format, quality, max edge length and optional KB target.
- Compare the before/after preview at full zoom on the details that matter — text, faces, edges.
- Download the result; if the portal still rejects it, reduce dimensions before lowering quality further.
Why compress images for the web at all
Uncompressed photographs from modern phones routinely exceed five megabytes. A web page that loads three such images before the first paint will fail Core Web Vitals on mobile networks, rank lower in search, and frustrate visitors on metered data. Compression removes redundant data the eye cannot see at display size — not detail you would notice on a product page or blog hero.
Form uploads impose harder caps. Government portals, job applications and exam registrations often limit photographs to 50 KB, 100 KB or 200 KB. Email clients inline-image limits sit in a similar range. A compressor that targets a specific kilobyte ceiling — rather than a vague quality slider — saves time when the portal rejects 203 KB and will not explain why.
The privacy argument matters too. Product photography, employee ID submissions and medical document photos should not pass through a third-party server just to lose two megabytes. Local compression in the browser eliminates that exposure entirely.
- Phone photos often exceed 5 MB — far too heavy for web heroes.
- Form portals commonly cap uploads at 50–200 KB.
- Core Web Vitals penalise slow LCP driven by oversized images.
- Local compression keeps ID and product photos off third-party servers.
JPG, WebP or PNG — pick the format before you compress
JPG (JPEG) is the right default for photographs — product shots, team headshots, document scans with continuous tones. Lossy compression shrinks file size dramatically at quality levels the eye accepts on screen.
WebP often beats JPG by twenty to forty percent at the same visual quality, which makes it the better choice when your CMS or CDN accepts it. Convert with JPG to WebP or PNG to WebP first, then compress if the result is still over cap. Not every legacy system accepts WebP, so check the destination before you convert.
PNG should stay PNG when you need sharp UI screenshots, logos with transparency, or diagrams with flat colour regions. PNG is lossless, so 'compression' mainly means reducing pixel dimensions — the long edge — rather than cranking a quality slider that does not exist for lossless formats.
Hit KB targets without guessing a quality slider
The most common failure mode is guessing quality, checking file size, guessing again, and arriving at a mushy 180 KB image that could have been a crisp 195 KB with the right dimensions. A target-size compressor binary-searches quality (and shrinks dimensions if needed) to land under the cap in one pass.
Open Compress image and use the Email (~200 KB) or Form (~100 KB) presets for portal uploads. For blog heroes and marketing pages, the Web preset targets a sensible balance for Core Web Vitals — typically under 300 KB with a max long edge around 1920 pixels.
Each row shows original and compressed previews plus the byte delta. If re-encoding cannot beat the original for the same format — common with already-optimised PNGs — a honest tool keeps your file and says so instead of spitting out a larger blob.
- Use KB targets for form uploads — not open-ended quality sliders.
- Email preset: ~200 KB, suitable for inline attachments.
- Form preset: ~100 KB, suitable for government photo uploads.
- Web preset: balanced for blog heroes and LCP budgets.
Resize before you over-compress
A 4000×3000 pixel photograph displayed at 800 pixels wide on a blog carries sixteen times more data than the layout needs. Shrinking the long edge to 1600 or 1920 pixels before compression often reaches the KB cap without visible quality loss — because the browser was never going to show those pixels anyway.
For form photographs, portals specify both pixel dimensions and file size. A 213×213 pixel PAN photo at 20 KB is a dimension constraint first and a compression constraint second. Resize to the required pixel box, then compress to the KB ceiling. Tools like the PAN card photo resizer handle the pixel side; the image compressor handles the byte side.
Cropping matters for phone photos of documents. A photograph of an A4 page includes desk, shadows and margins the form does not need. Crop to the document edges first — that alone can drop a 3 MB phone photo under 200 KB before you touch quality settings.
Batch compress images for blogs and storefronts
A product launch or blog migration often means twenty images that all need the same treatment: max edge 1600, WebP output, under 250 KB each. Batch mode drops multiple files, applies one preset, and downloads a ZIP when two or more results are ready — no account, no queue.
EXIF and GPS metadata strip automatically during canvas re-encode. That matters when you compress holiday photos for a public blog or document scans you do not want geotagged. Upload-based compressors sometimes preserve EXIF unless you pay for removal.
For iPhone HEIC originals, convert to JPG first with HEIC to JPG, then compress. HEIC is efficient on disk but unsupported by many portals and CMS backends. Two steps beat one failed upload.
When compression alone is not enough
If the compressor returns the smallest readable file and it is still over the cap, you have hit a quality floor. A full-resolution colour scan of a passport page at 600 DPI cannot reach 50 KB without turning text into blocks. Fix the source: crop, reduce dimensions, switch to greyscale for ink-on-paper documents, or rescan at 150–200 DPI.
If the destination is a PDF upload rather than a photograph, use a PDF compressor instead — image compression on a multi-page report does not help. Convert photos to PDF with JPG to PDF when the portal demands PDF, then compress the finished document if it exceeds the cap.
If WebP is rejected by the portal, convert back to JPG with WebP to JPG at a quality that meets the size limit. Format compatibility beats theoretical efficiency when the upload field only accepts JPEG.
- Still over cap: reduce pixel dimensions before quality.
- Passport scans at 600 DPI need rescanning, not more compression.
- HEIC files: convert to JPG first, then compress.
- PDF uploads: compress the PDF, not the source photo.
Frequently asked questions
Open a browser-based image compressor, drop JPG, PNG or WebP files, pick a preset or KB target, and download the result. On PixelAndPDF re-encoding runs locally — nothing is uploaded and EXIF is stripped automatically.
WebP usually offers the best size-to-quality ratio for photographs when your CMS accepts it. JPG is the universal fallback. PNG suits logos and screenshots that need transparency or sharp edges.
Set a 200 KB target in the compressor, or use the Email preset. If quality alone cannot reach the cap, reduce the long edge to the portal's pixel limit first, then compress again.
Lossy formats like JPG and WebP discard data the eye rarely notices at screen size. Aggressive compression on an already compressed file causes visible artefacts — always keep the original and compress from it once.
Resize first when the image is much larger than its display size. A 4000-pixel photo shown at 800 pixels wide carries wasted data. Fit dimensions to the layout, then compress to the KB cap.
Yes. Drop up to twenty files, apply one preset, and download individually or as a ZIP. Batch mode uses the same settings for every file in the queue.
PNG is lossless — compression mainly reduces dimensions, not quality. Flat screenshots sometimes re-encode to a similar or larger size. Resize the long edge or convert to WebP if transparency is not needed.
Canvas re-encode in the browser strips EXIF by default. Upload-based tools sometimes preserve metadata unless you opt out — local compression is safer for photos you do not want geotagged.
Target under 300 KB for hero images, max long edge around 1920 pixels, and prefer WebP with JPG fallback. Compress before uploading to your CMS so the CDN serves an already-optimised file.
Convert HEIC to JPG first, then compress. Most portals and CMS backends do not accept HEIC. The two-step path takes seconds and avoids a rejected upload.