

PDFs guide
How to Print a PAN Card on A4 — Free e-PAN Layout for Cyber Cafés and PVC Shops
An e-PAN download is not a print template. Here is how to turn NSDL or UTI PDFs into a clean A4 sheet — four, six or eight cards per page at 300 DPI — without uploading the file to a stranger's server.
By Pixelandpdf · Published · Updated · 12 min read
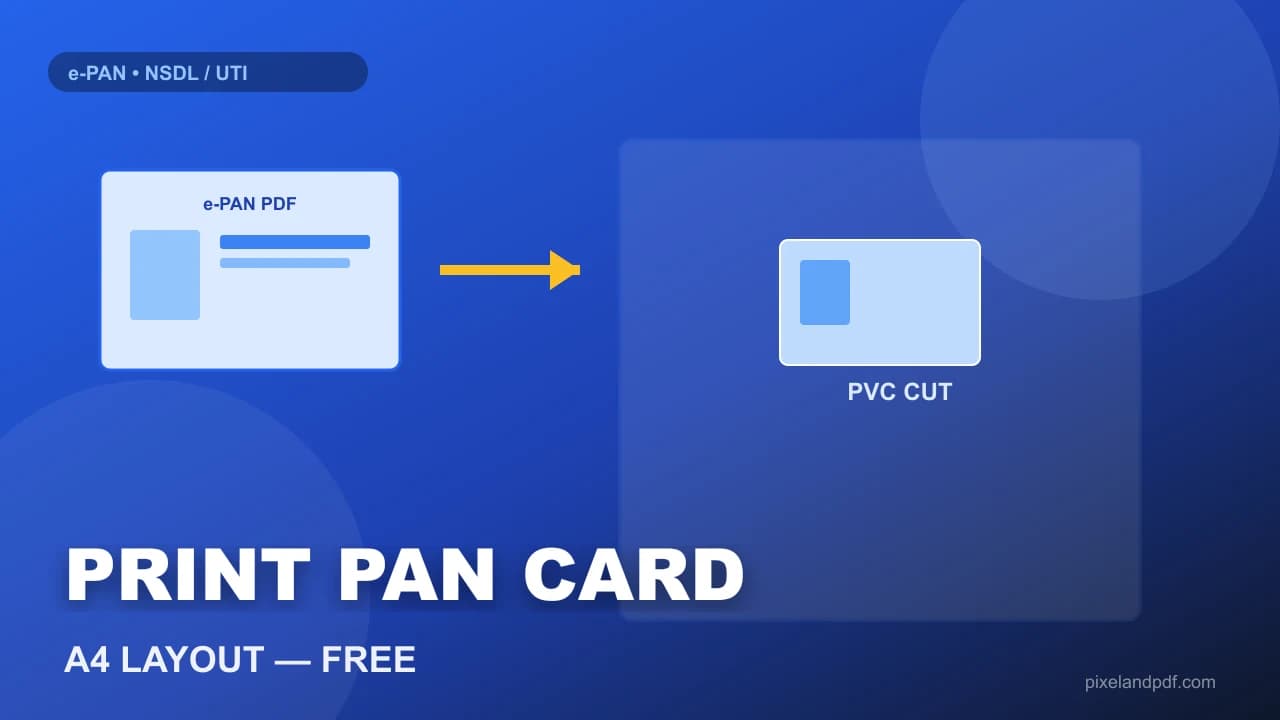
Every morning at a cyber café or Common Service Centre, someone walks in with a phone screenshot of an e-PAN and asks for a PVC card by noon. The file they actually have is an NSDL or UTI PDF — a verification document, not a print-ready layout. Printing it as-is wastes A4 sheets, misaligns the crop for a card cutter, and leaves the operator manually resizing in Word until the queue backs up.
Printing a PAN card on A4 correctly means extracting the card face from the e-PAN PDF, scaling it to a standard credit-card proportion, and packing multiple copies onto one 300 DPI sheet so a dye-sub PVC printer or a laser cutter gets consistent registration. The customer should never need to email the PDF to a random online converter that stores identity documents on a foreign server.
This guide walks through the full desk workflow: opening NSDL and UTI e-PAN files (including password-protected ones), choosing four, six or eight cards per sheet, matching photo dimensions before a reprint, and keeping batch jobs within sensible limits during a rush. Everything runs in the browser on PixelAndPDF — no upload, no watermark, no account.
Quick steps
- Download the e-PAN PDF from NSDL, UTI or DigiLocker — confirm whether the file opens freely or needs a password.
- Open the PAN card print tool, drop the PDF, and enter the password if the portal set one.
- Choose four, six or eight cards per A4 sheet depending on your PVC cutter's gutter width.
- Preview the 300 DPI layout on screen — check the photo, name and PAN number are centred and legible.
- Download the JPG or ZIP, print on A4, and cut or laminate — keep the original PDF off the shared desktop.
Why an e-PAN PDF is not a print template
NSDL and UTI design e-PAN files for on-screen verification and income-tax workflows, not for a credit-card cutter. The PAN artwork sits inside a larger PDF page with branding, QR codes and margins. When a customer asks you to print PAN card on A4, they usually mean they want a sheet of card-sized faces ready for PVC — not a full-page PDF that wastes toner and forces manual crop marks.
The difference matters at the counter. A raw e-PAN print might show the card at the wrong scale, with extra white space that shifts between customers. A proper A4 layout extracts just the card face, normalises proportions to ISO/IEC 7810 ID-1 dimensions, and tiles multiple copies so one sheet feeds a batch of laminate pouches.
Cyber cafés across India adopted this pattern because PVC reprint complaints almost always trace back to layout, not the printer. The card cutter expects the same face size every time. Consistent 300 DPI output from a browser tool beats resizing in Paint or Word between customers.
- e-PAN PDFs are verification documents — not cutter-ready layouts.
- Raw prints waste sheet space and drift between customers.
- 300 DPI A4 output is the safe default for dye-sub PVC and laser workflows.
- Never email e-PAN to a Gmail account just to print — identity packs leak that way.
NSDL vs UTI e-PAN: passwords and file quirks
Both NSDL and UTI issue e-PAN PDFs, and the print workflow is the same once the file is open. The friction is usually the password. Some e-PAN downloads open without protection; others require a key the customer set at download time — often date of birth in DDMMYYYY format or the PAN number itself. Enter the password in the print tool rather than saving an unlocked copy onto a shared café PC where the next user can browse Downloads.
If the PDF is encrypted and the tool cannot read it, unlock it first with a local Unlock PDF tool, download the open copy privately, then load that file into the PAN print studio. Do not use upload-based unlock sites for identity documents.
Batch limits exist for a reason: roughly twenty PDFs, forty faces, eight cards per A4, twenty-five megabytes per file. That covers a morning rush at a CSC without claiming you can spool an entire district's PANs in one Chrome tab. If a customer brings fifty files, split the job across two sessions rather than crashing the browser.
Choosing four, six or eight cards per A4 sheet
The cards-per-sheet setting is a trade-off between laminate cost and cutter registration. Four-up layouts leave wide gutters — ideal when the PVC machine's registration is loose or when you need room for manual trim marks. Six-up is a middle ground many mid-tier shops prefer. Eight-up maximises sheet economy when the cutter is precise and laminate pouches are expensive.
Preview on screen before you burn a sheet of blank card stock. Zoom to the photograph and signature: if the face looks soft at 300 DPI, the source PDF may be a low-resolution download rather than a layout problem. Ask the customer to re-download from DigiLocker at full quality before you reprint.
For shops that also print Aadhaar, voter ID or custom ID cards, the same A4 tiling pattern applies across tools. A customer who needs both PAN and Aadhaar on separate sheets can use Aadhaar card print with the identical four/six/eight-up workflow so operators do not learn a different interface per document type.
- 4-up: wide gutters, forgiving registration, good for manual cutters.
- 6-up: balanced cost and spacing for most PVC shops.
- 8-up: maximum economy when the machine registration is tight.
- Always preview before printing on blank card stock.
Photo size before PVC — a separate job from printing
Reprint complaints often start with the photograph, not the crop. If the customer still needs to upload a PAN photo for a correction or new application, resize it with the PAN card photo and sign resizer to the common 213×213 pixel guidance before they leave the counter. Printing and photo prep are different jobs — keep them separate so you do not re-encode the card face unnecessarily.
Government portals also cap photo uploads at 20 KB, 50 KB or 100 KB. Those limits have nothing to do with the PVC print sheet. A customer who conflates the two will ask you to shrink the print layout when they actually need a separate photo resize. Point them to the right tool and save yourself a second reprint.
For sarkari forms that specify exact pixel and KB dimensions, the Sarkari form photo resizer handles the upload-side constraint while the PAN print tool handles the physical card output. Desk staff who know the difference finish queues faster.
Cyber café desk workflow when the customer is in a hurry
The typical rush-hour sequence: customer opens DigiLocker on their phone, downloads the e-PAN PDF to a USB drive or WhatsApp, walks to the counter, and expects a laminated card in ten minutes. Your job is to minimise steps between download and cutter.
Load the PDF into PAN card print, enter any password, pick the layout, download the JPG, send it to the PVC printer. Do not open the PDF in Adobe Reader and screenshot it — screenshots drop resolution and add compression artefacts that look fine on screen but blur under laminate.
Clear the browser download folder between customers if the PC is shared. e-PAN files contain full name, photograph, date of birth and PAN number. A privacy-conscious shop deletes processed files after the customer leaves rather than leaving identity packs in Downloads for the next walk-in to browse.
If the customer needs a plain paper print rather than PVC — for a bank KYC folder or employer verification — the same A4 sheet works on an ordinary laser printer. Paper prints cost less and the customer can trim with scissors when no cutter is available.
Troubleshooting: wrong size, blurry photo, or rejected reprint
If the card face looks too small on the A4 sheet, the source PDF may be a cropped screenshot rather than a full e-PAN download. Ask the customer to re-download from the NSDL or UTI portal, or export from DigiLocker as PDF rather than sharing a WhatsApp-forwarded image saved as PDF.
If the photograph is blurry after a correct layout, the e-PAN itself was issued with a low-resolution image — common on older issuances. No print tool can invent detail that was never in the file. The customer needs a PAN correction with a fresh photograph, not another reprint of the same PDF.
If the cutter registration drifts between cards on one sheet, check printer scaling. Many print dialogs default to 'Fit to page' which shrinks the entire layout by a few millimetres. Set scaling to 100% / actual size so the 300 DPI dimensions match the cutter template.
If the PDF password fails, confirm whether the customer downloaded from NSDL or UTI — password rules differ. UTI files sometimes use the PAN number; NSDL files often use DOB. A wrong guess after three tries may lock the file until the customer resets credentials on the portal.
- Blurry photo: usually a low-res source PDF, not a layout fault.
- Wrong scale: disable 'Fit to page' — print at 100%.
- Password fails: confirm NSDL vs UTI rules with the customer.
- Screenshot PDFs: re-download from DigiLocker at full quality.
Frequently asked questions
Download the e-PAN PDF from NSDL, UTI or DigiLocker, open a browser-based PAN card print tool, drop the file, choose four to eight cards per sheet at 300 DPI, and download the layout. Print on A4 and cut or laminate. On PixelAndPDF nothing is uploaded.
You can, but the result wastes sheet space and misaligns for a PVC cutter. e-PAN files are verification documents with margins and branding, not card-sized layouts. Extracting the face and tiling it on A4 produces consistent results at the counter.
It varies. Some files open freely; others need a password the customer set at download — often date of birth in DDMMYYYY format or the PAN number. Enter it in the print tool rather than saving an unlocked copy on a shared PC.
Most tools offer four, six or eight cards per A4 at 300 DPI. Choose four-up for wide gutters and loose cutter registration; eight-up when laminate cost matters and the machine is precise.
Use a tool that processes the PDF locally in the browser so the file never uploads to a server. Shared café PCs should clear Downloads after each customer because e-PAN files contain full identity details.
Usually the source e-PAN was issued with a low-resolution photograph, or the customer gave you a screenshot saved as PDF instead of a full portal download. Reprinting the same file will not fix it — the customer needs a fresh e-PAN or a PAN correction.
PAN and Aadhaar are different document sizes and workflows. Print them on separate sheets using the dedicated PAN and Aadhaar print tools so each face is cropped to the correct proportions.
300 DPI is the standard for both dye-sub PVC printers and high-quality laser output. Lower resolution may look acceptable on screen but shows artefacts under laminate.
Generate a 300 DPI A4 layout with multiple card faces, print on A4, insert into PVC pouches, and run through a laminator or dye-sub printer. Match the cutter template to the cards-per-sheet setting you chose.
Unlock the PDF locally with an on-device unlock tool, download the open copy privately, then load it into the PAN print studio. Never upload e-PAN files to email-based or server-side unlock services.